APPCELERATOR TITANIUM TUTORIAL PART 3 – DYNAMIC LAYOUT
On the last part of the tutorial we created Views using the Alloy markup. Now we will try to create a View using the hard way and you have to decide which way do you prefer. Using the xml or using the .js file ?
1) Open MyFirstProject/app/controller/index.js delete all the codes. Run the app and you will see something like this: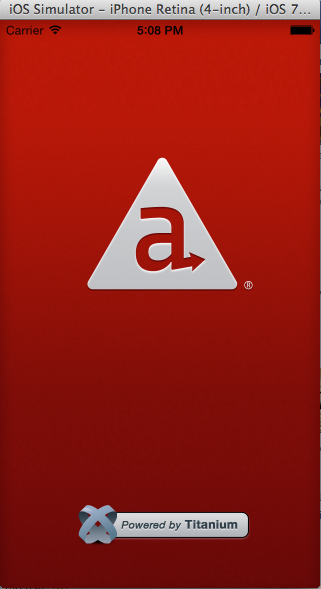
*stuck in the splash screen?
Of Course because we deleted “$.index.open();” which opens the Alloy markup or the index.xml. Because of that we must create it programmatically.2) Open index.js and write this code.
Now if you run your app, did it display a white screen? how did that work?
we just simply convert:
 3) Let’s create the 3 Views:
First we created the three views then we add it on the container and then open the container. As you notice here:
 It’s almost the same, It’s just that we are not using index.tss to customize our Views, we just insert the properties inside the parameter or “ myView({ property:’value’ ’’}); ”.
4) Let’s create an ImageView then add it to the view_image:
5) Let’s create a Label and add it to the view_welcomeMessage:
6) Let’s create Buttons and add it to the view_buttons:
run the project and you will see something like this:

Conclusion: Creating Views using xml is a lot easier than creating it dynamically or programmatically. But sometimes creating Views dynamically gives us an advantage especially when displaying a complex data. For example if you will retrieve a lot of data and display it on a TableView row, it is a lot easier creating it dynamically with the use of a loop,in that case your row will be created repeatedly rather than creating it using xml one by one.
Stay tuned for our next tutorial.